 Save
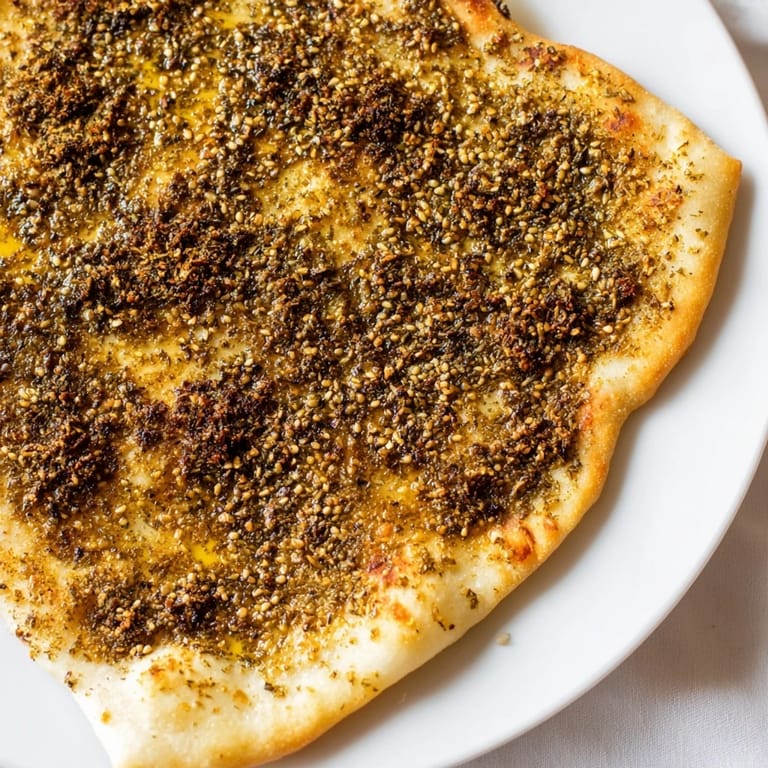
Save There's something about the smell of zaatar that instantly transports me to a sun-drenched kitchen, golden afternoon light pouring through open windows. The first time I made this bread, I was chasing that exact memory—the way my neighbor's flatbreads emerged from her oven with that perfect crispy-chewy texture and a generous topping of zaatar that somehow tasted both herbaceous and warm. I realized that day that the best recipes aren't just about following steps; they're about capturing a feeling, and this one absolutely does.
I'll never forget serving these to friends who'd never tried zaatar before—the moment they took that first bite and their eyes widened, they got it instantly. One friend described it as "savory and slightly lemony and herbaceous all at once," which is exactly what makes zaatar so magnetic. We demolished all four flatbreads that night, and they've been requesting them ever since.
Ingredients
- All-purpose flour (2 cups): The foundation of your dough—make sure it's fresh and stored in a cool place, as old flour can affect your rise time.
- Instant dry yeast (1 teaspoon): This is your leavening agent; always check the expiration date because dead yeast means a flat, dense bread.
- Sugar (1 teaspoon): A small amount feeds the yeast and helps activate it, creating a better rise.
- Salt (3/4 teaspoon): Beyond flavor, salt strengthens the gluten structure and controls fermentation.
- Olive oil (2 tablespoons for dough, plus 1/3 cup for topping): The dough oil keeps things tender while the finishing oil carries all those aromatic flavors into every bite.
- Warm water (2/3 cup): Temperature matters here—too hot kills the yeast, too cold and nothing rises; aim for around 40-45°C (105-115°F).
- Zaatar spice blend (1/4 cup): This is where the magic happens; if you can't find it locally, you can blend dried thyme, sumac, and sesame yourself.
- Toasted sesame seeds (2 tablespoons): Already toasted ones add nuttiness; raw seeds will taste bland and miss the point entirely.
Tired of Takeout? 🥡
Get 10 meals you can make faster than delivery arrives. Seriously.
One email. No spam. Unsubscribe anytime.
Instructions
- Bring your ingredients together:
- In a large bowl, whisk together your flour, yeast, sugar, and salt so the yeast distributes evenly—this prevents pockets where it won't activate. Pour in the olive oil and gradually add your warm water, stirring until shaggy clumps form.
- Knead until silky:
- Transfer to a lightly floured surface and knead for 5-7 minutes, working the dough until it transforms from rough to smooth and elastic; you'll feel it shift under your hands when it's ready. Don't be tempted to rush this or skip it—kneading develops the gluten structure that gives you that perfect chew.
- Create the rise:
- Place your kneaded dough in an oiled bowl, cover it with a damp cloth to prevent a skin from forming, and let it rest in a warm spot (near a sunny window works beautifully) for about an hour until it's visibly doubled. This is when the yeast does its work, creating all those tiny bubbles that make bread light.
- Prepare your oven and workspace:
- While the dough rises, preheat your oven to 220°C (425°F) and line two baking sheets with parchment paper so your breads won't stick and will develop that golden-brown bottom.
- Shape with intention:
- Once doubled, divide your dough into 4 equal pieces, roll each into a ball, then gently flatten into a round about 15-18 cm (6-7 inches) across—don't overthink the shape, rustic is part of the charm. Arrange them on your prepared baking sheets with a little space between each one.
- Make your zaatar paste:
- In a small bowl, stir together your zaatar blend, toasted sesame seeds, and olive oil until you have a loose, fragrant paste that clings together beautifully.
- Top generously:
- Spread the zaatar mixture evenly across each dough round, leaving just a thin border at the edges so they can puff up slightly and crisp without the topping burning.
- Bake until golden:
- Slide them into your hot oven and bake for 12-15 minutes, watching until the edges turn golden-brown and crispy while the center stays tender. You'll know they're ready when the aroma fills your kitchen—there's no smell quite like it.
- Cool just enough to handle:
- Remove from the oven and let them rest for just a minute or two so the bottoms set, then serve warm or at room temperature while they're still at their best.
 Save
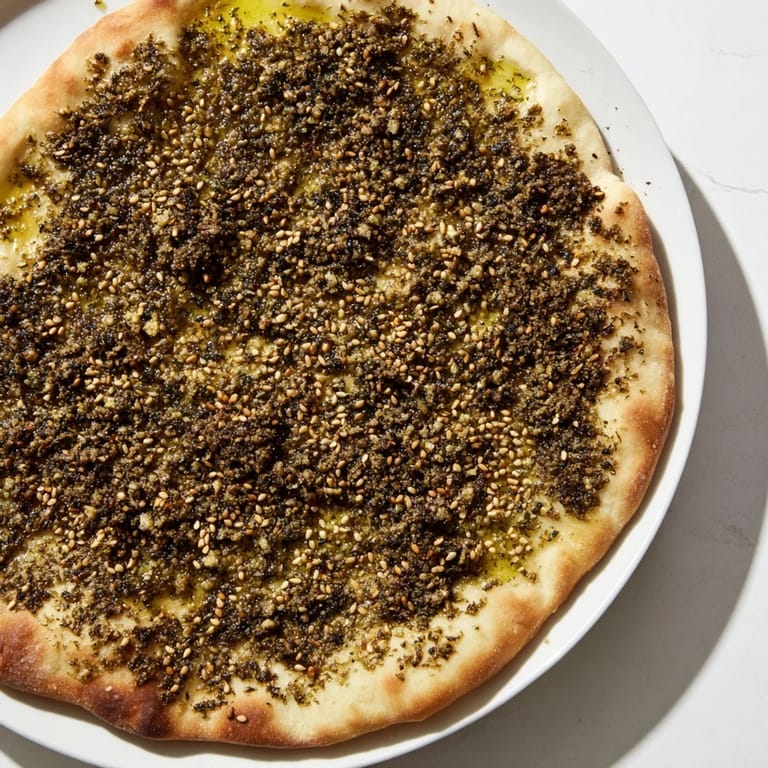
Save There's something profound about pulling these flatbreads from the oven and realizing you've created something that tastes like it came from a proper bakery—from scratch, in your own kitchen. It's one of those small victories that makes you feel genuinely proud.
The Story Behind Zaatar
Zaatar has been sustaining people across the Levantine region for centuries, and it represents more than just flavor—it's a cultural cornerstone passed down through families. The blend of wild thyme, sumac, and sesame carries history in every sprinkle, and when you're making this bread, you're participating in that legacy. Understanding what zaatar is makes these flatbreads taste even better.
Variations and Add-Ons
Once you master the basic recipe, there's so much room to play. A light sprinkling of chili flakes adds heat without overwhelming the herbaceous notes of zaatar, while some people like to brush their finished breads with a tiny bit more olive oil right as they come out of the oven for extra richness. You can even press some whole sesame seeds or pine nuts into the topping before baking if you want extra texture.
Serving and Storage
These breads are incredible straight from the oven with nothing but a cold glass of water, but they're equally wonderful as part of a larger spread. I love serving them alongside fresh vegetables, labneh, hummus, or baba ganoush for dipping—they become the edible centerpiece that ties everything together. They'll keep for a day in an airtight container, and even reheated gently in a dry skillet, they bounce back to life surprisingly well.
- Serve warm or at room temperature depending on your mood and the season.
- Store in an airtight container for up to two days, though they're best eaten the day they're made.
- Reheat gently in a dry skillet or wrapped in foil in a low oven if they've cooled and you want that warm-from-the-oven feeling back.
 Save
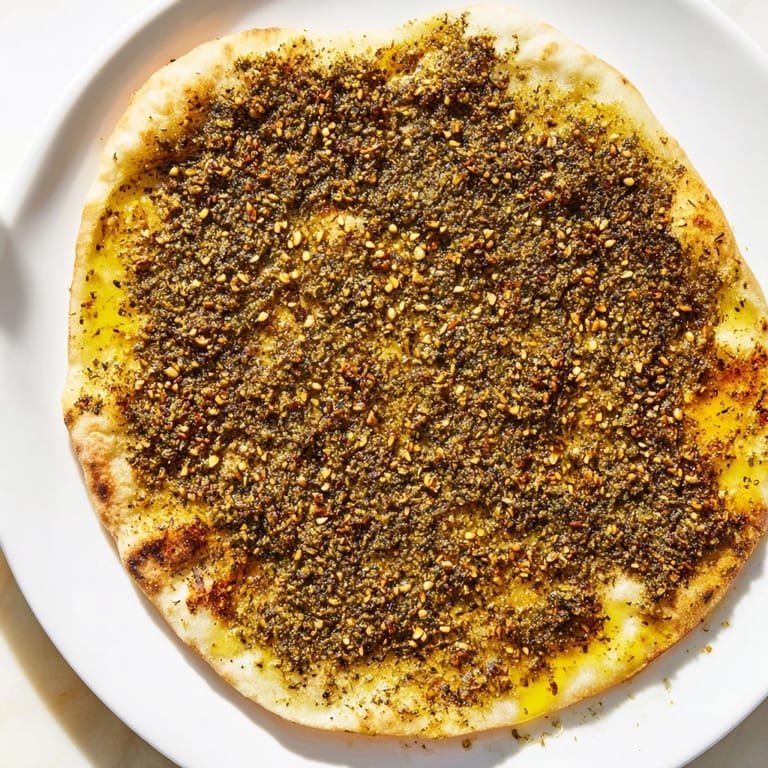
Save This bread has a way of becoming a staple once you've made it once, because it proves that something truly delicious doesn't require hours of fussing or exotic techniques. It just needs good ingredients, patience, and a little warmth—both in your oven and in your intentions.
Recipe Help & Answers
- → What type of flour is best for this flatbread?
All-purpose flour works well to create a soft and elastic dough, suitable for this flatbread.
- → Can I adjust the topping for different flavors?
Yes, adding chili flakes or adjusting the balance of zaatar and sesame seeds can bring a spicy or nuttier flavor.
- → How long should the dough rise before baking?
The dough should rise for about one hour or until it doubles in size for a light texture.
- → What temperature is ideal for baking this flatbread?
Baking at 220°C (425°F) ensures the bread becomes golden and crisp without drying out.
- → How can I make the flatbread fluffier?
Letting the shaped dough rest for 10 minutes before adding the topping helps achieve a fluffier texture.
- → Is this bread suitable for a vegan diet?
Yes, it contains no animal products and uses olive oil for richness, making it vegan-friendly.