 Save
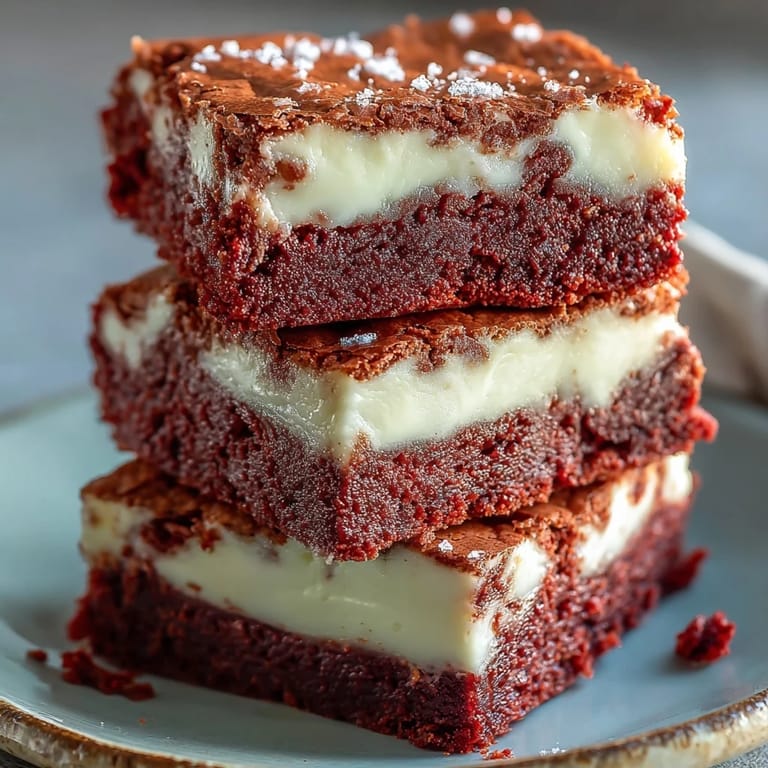
Save My neighbor brought these to a block party last spring, and I practically interrogated her for the recipe before she even set the platter down. The contrast between the fudgy red velvet and that silky cheesecake layer was unlike anything I'd tried before. I went home that night and made my first batch at midnight, still thinking about that swirl. The kitchen smelled like cocoa and vanilla for hours. I've been hooked ever since.
I made these for my daughter's birthday last February, and she insisted on red velvet everything that year. Watching her friends devour them while arguing over who got the corner pieces made me realize how special a good brownie can be. One kid asked if I owned a bakery, which honestly made my whole week. Now they're my go to whenever I need to impress without stressing.
Ingredients
- Unsalted butter: Melted butter gives these brownies that signature fudgy texture, and using unsalted lets you control the saltiness perfectly.
- Granulated sugar: I've tried cutting back, but the full cup is what creates that shiny, crackly top we all love.
- Eggs: Room temperature eggs blend smoother into the batter and help the cheesecake layer stay creamy.
- Vanilla extract: Pure vanilla makes a noticeable difference here, especially in the cheesecake swirl.
- Red food coloring: Gel coloring gives a deeper red without thinning the batter, but liquid works if that's what you have.
- All purpose flour: Just half a cup keeps these dense and fudgy instead of cakey.
- Unsweetened cocoa powder: This adds chocolate depth without overpowering that classic red velvet flavor.
- Cream cheese: Softened completely is key, or you'll fight lumps forever while mixing.
Tired of Takeout? 🥡
Get 10 meals you can make faster than delivery arrives. Seriously.
One email. No spam. Unsubscribe anytime.
Instructions
- Get the oven ready:
- Preheat to 175°C and line your pan with parchment, letting it hang over the sides like little handles. This trick saves you from prying brownies out later.
- Mix the red velvet base:
- Whisk melted butter and sugar until it looks glossy, then add eggs, vanilla, and that vibrant red coloring. The batter should be smooth and almost shiny.
- Fold in the dry ingredients:
- Sift flour, cocoa, and salt together, then fold gently just until no streaks remain. Overmixing makes them tough instead of fudgy.
- Save some batter for swirling:
- Scoop out about a quarter cup and set it aside. Spread the rest evenly across your prepared pan.
- Make the cheesecake layer:
- Beat cream cheese until completely smooth, then add sugar, egg, and vanilla. It should be creamy and lump free before you pour.
- Layer and swirl:
- Pour cheesecake over the brownie base, then dollop that reserved red batter on top. Drag a knife through in loops to create those gorgeous swirls.
- Bake until just set:
- 35 minutes should do it, but check with a toothpick for moist crumbs, not wet batter. The center should barely jiggle.
- Cool and chill:
- Let them cool completely on a rack, then refrigerate for at least two hours. Cold brownies cut cleaner and taste even richer.
 Save
Save My husband isn't usually a dessert person, but he'll sneak these from the fridge late at night when he thinks I'm asleep. I started making double batches just so I'd actually have some left for guests. There's something about the way the cheesecake softens the chocolate richness that converts even the pickiest eaters.
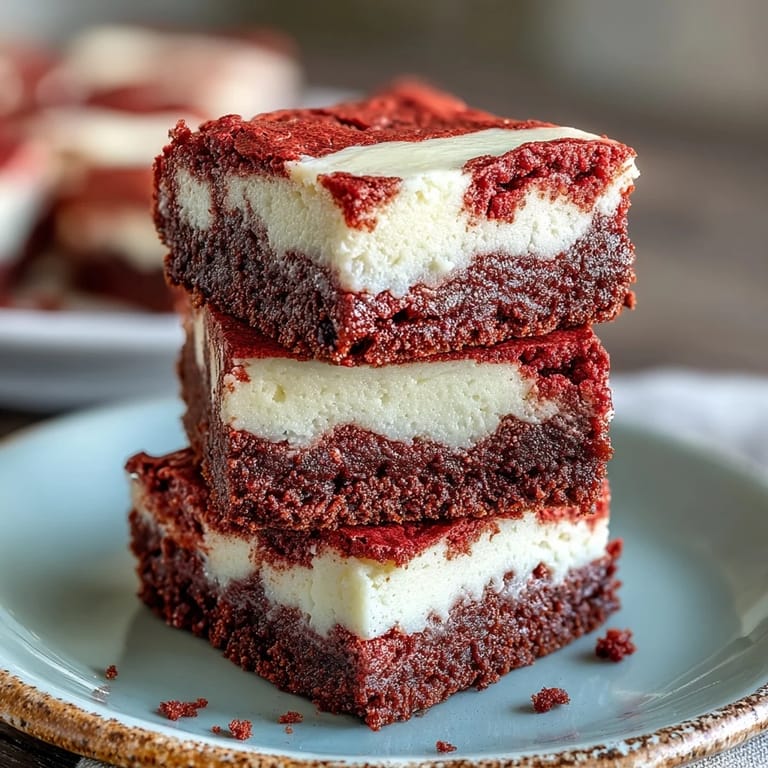
How to Get Perfect Swirls
I used to overthink the swirling and end up with muddy layers instead of distinct ribbons. The trick is using a light hand and dragging your knife in figure eights without pressing too deep. You want the batters to mingle, not completely blend. If you swirl too much, you lose that beautiful contrast between red and cream.
Storage and Make Ahead Tips
These actually taste better the next day after the flavors have melded in the fridge. I store them in an airtight container with parchment between layers so they don't stick together. They'll last up to five days refrigerated, though they've never survived that long in my house. You can also freeze individual squares wrapped tightly for up to two months.
Serving Suggestions
I love serving these slightly chilled with a little whipped cream on the side, though they're honestly perfect on their own. For extra indulgence, a drizzle of cream cheese frosting takes them over the top. They're stunning on a dessert platter for holidays, especially around Valentine's Day when that red velvet color really shines.
- Dust with powdered sugar right before serving for an elegant finish.
- Pair with strong coffee or cold milk to balance the richness.
- Cut them smaller for parties so guests can try other desserts too.
 Save
Save Every time I pull these from the oven and see those swirls set perfectly, I feel like I've created something worth sharing. I hope they bring you as much joy as they've brought my kitchen.
Recipe Help & Answers
- → Can I use natural food coloring instead of artificial dye?
Yes, you can substitute with natural red food coloring, though the color may be less vibrant. Beet powder or natural gel colors work well, but you may need to adjust the quantity for desired intensity.
- → Why do my brownies need to be refrigerated before cutting?
Refrigeration helps the cheesecake layer set properly and makes the brownies easier to cut into clean squares. The chilling time ensures the layers hold together without crumbling when sliced.
- → Can I make these in a different pan size?
Yes, but adjust baking time accordingly. A 9x9-inch pan will yield slightly thinner brownies and may bake faster (check at 30 minutes). A 9x13-inch pan will create thinner bars and reduce baking time to about 25-28 minutes.
- → How do I know when the brownies are perfectly done?
The center should be just set with a slight jiggle, and a toothpick inserted should come out with a few moist crumbs—not wet batter. Overbaking will result in dry brownies, so check at 32 minutes if your oven runs hot.
- → Can I freeze these brownies for later?
Absolutely! Wrap individual brownies tightly in plastic wrap, then store in a freezer-safe container for up to 3 months. Thaw in the refrigerator overnight before serving for best texture.
- → What causes cracks on the cheesecake layer?
Overbaking or sudden temperature changes typically cause cracking. Ensure you don't exceed the recommended baking time, and allow brownies to cool gradually at room temperature before refrigerating.